Monday, April 12, 2021

Simply Succulents

 I told you I was going to make some more cards using the simply succulents dies from stampin up!  This time I actually used the stamp set too!  lol.  I know that succulents are generally pale and muted in color, but i wanted to make these flowers bold!  So I stamped a few of the flowers, and pots.  I used my stampin' blend markers to color.  It is so much fun to color.  I then used the die cutters to cut out the images.  


I had this card template that I wanted to follow,  I had this round olive green circle that I had previously cut out and had set to the side as I did not use for the original project.  I thought I would place it behind the pot and flowers.  I also used some of the other dies to cut some green sprigs for behind my yellow and pink flowers.  I then rummaged around my huge stash of retired pattern paper and picked out the pink and green.  I have no idea what colors.  I believe the card base is a wild wasabi color.   I took a piece of ribbon and placed it behind the flower pots and cut the ends at an angle.  I thought this would be a cute thank you card so I stamped the Thanks a bunch sentiment in black.   Finally, I found this cute little felt butterfly in my box of accents and thought it would go perfect here!


My new thing is that when I want to use a stamp set, I am trying to make 2 cards.  And that each of these cards may be similar or very different!  But since the stamp set is out, make use of it!  


This card is similar in that it has the same flowers and pot and the pink and green colors, but then I added in blue.  I flipped through my Stampin'Up! catalog for inspiration.  I found this card on page 13 of the 2020-2021 catalog.  


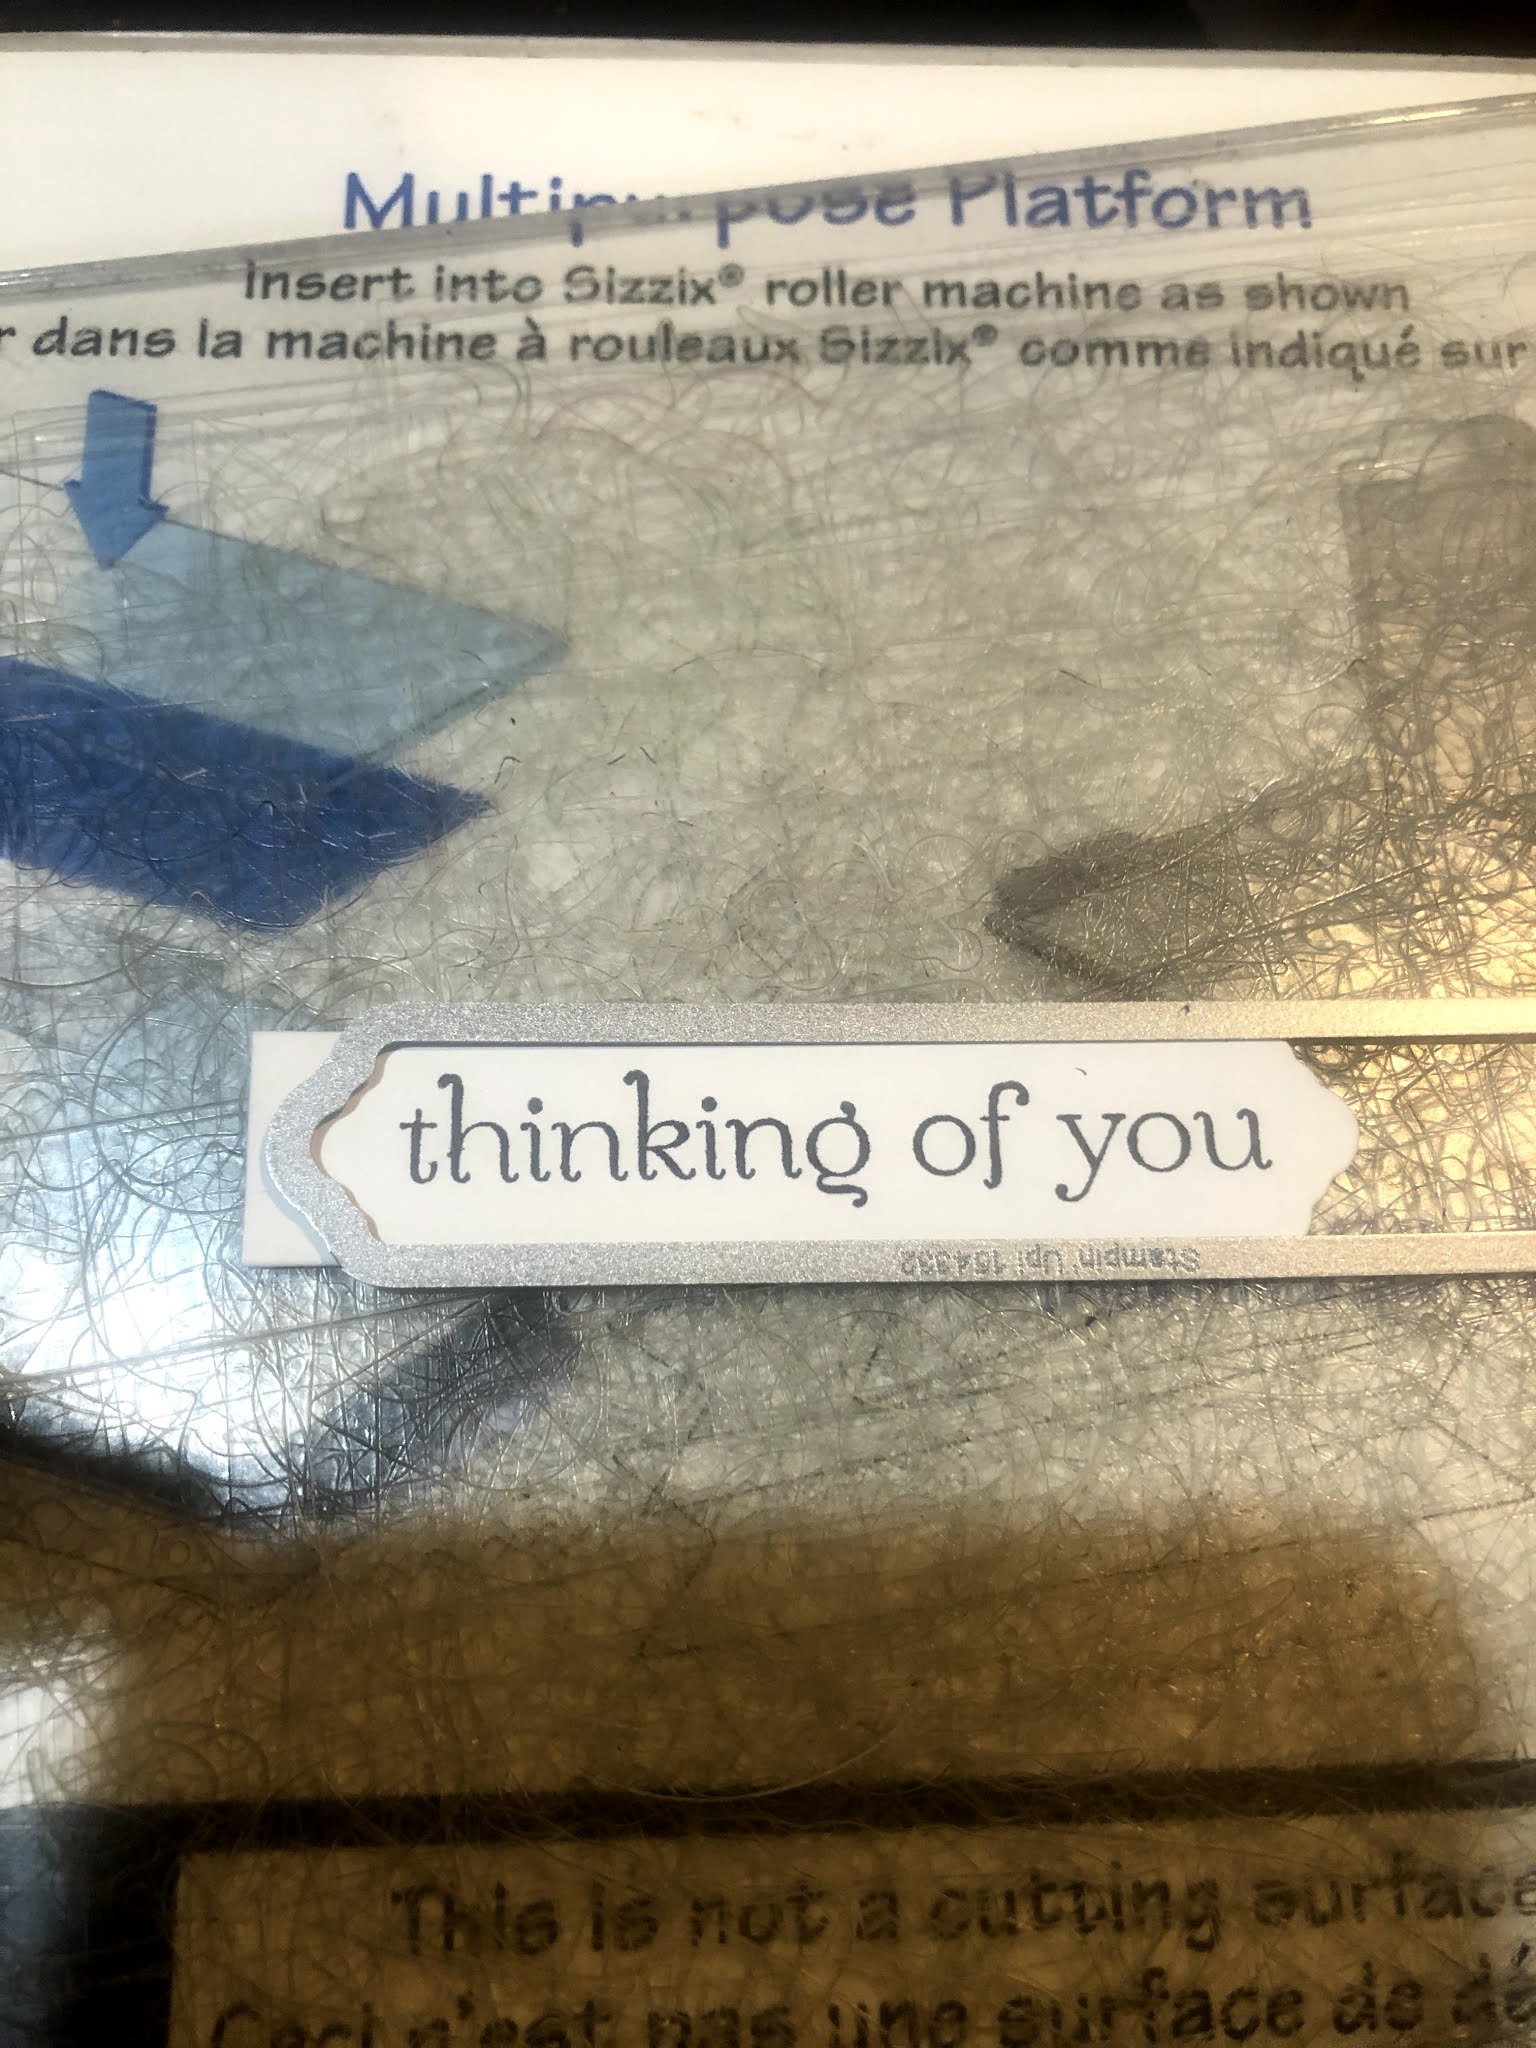
So I cut 3 strips of my DSP and arranged them on the Wild Wasabi card base.  Then I put the flower pot off to the left this time.  I stamped the thinking of you image on the card, but it was crooked!  Oh no!  How to fix?  Stamp it on another piece of paper and cut out with a die and cover the mistake!  


But my die is much larger than my sentiment. So I placed the die on one end of the image where I wanted it to be.  And cut out the image.  Then I moved the die cut down in the die to line up the other end of the sentiment with the die edge and ran through my cutter again.   Then it was the perfect size!  


Finally some pizzaz in the form of dark silver round stones randomly applied on the card front.

Thanks for stopping by today! 
~Melanie


Sunday, April 11, 2021

Beautiful Butterfly


I really am enjoying creating with the butterfly brilliance stamp set.  Who doesn't like butterflies?  Especially in the spring!  And this card screams spring to me with the yellow and the teal.  I really love yellow for springtime.  

This beautiful yellow butterfly actually comes right from the Stampin' Up! DSP (designer series paper).  The paper lines up perfectly with the die for this set, and when it is used, it cuts out 6 different butterflies!  Cut them all at once, and set them aside to be ready for another project!  The white circle in the background is actually a paper doily.  It had more ruffled edges, but it was bigger than I wanted, so I cut the edges off.  Then I thought this just jade paper would match beautifully to the yellow.  I used a strip of DSP for the bottom and then a solid piece to make the tag behind the doily and butterfly.   I added some black in to tie into the butterfly lines and then some cute little yellow rhinestones to add just a touch of pizzaz!  what a fun word, pizzaz!  lol


And of course you know how i hate a blank inside of a card!  So i found an older SU set ( I don't even know which one off the top of my head) and I inked it up in the yellow and stamped it a few times across the bottom of the white cardstock without re-inking so it would have that ombre effect.

This card has no stamped sentiment, so it could be added later, or used as is to be for any occasion!
I have been having fun with these butterflies, so I will be sharing more soon.  Spring fever has gotten me!

Thanks for stopping by today!
~Melanie 

Wednesday, April 7, 2021

Floraly Lace


 I saw this large lacy floral die and wanted it so badly, and it just arrived this past Saturday!  So last night when I just needed a little get away from life, I retreated to my craft area and opened it up.  I grabbed the first piece of cardstock near me that would fit the die and ran it through the machine (Regal Rose).  My next thought was, what can I lay this over?  I had recently used this DSP when making my Easter cards and it was nearby, so I thought it would go.  This is how my process works right now.  I have SO much stuff (and I have no idea how old this paper is or what set it came from) and my room is a little messy still, that I tend to keep using something when I have it near me from a recent project!   

Anyway, I was like, hmm, what else?  Then I saw that ribbon on the desk from Easter and thought YES!  Also in the set was this cute die for sentiments, so I checked out the stamp set that matches and saw this cute "You've been on my mind" stamp.  And thought, yes this would make a nice card for a friend.  Sometimes I think...birthday? sympathy? just because?  the card sometimes leads me.   So I used my Early Espresso marker to ink up the stamp and put it on cream card stock.  I used the cream for the base of the card as well.  Then I used the cute die to cut out the sentiment and mounted it on dimensionals.


Well, you can't ignore the center of the card!  So I used the same Regal Rose Cardstock and cut it to fit just inside the back base, leaving a smidge of the cream to show, as it does on the front of the card.  I then took a cute floral die from the stamp set, inked it with the Early Espresso marker and double stamped it on the corner of the card.  That is why one image is a little lighter than the other.  

That's it!  A pretty card that I am sure anyone would like to get to know that someone was thinking of them!  I also was playing with this stamp set and die for another card using a layout challenge, but did not finish yet.  I will share it later, so keep your eye out for a totally different look using the same stamp and die set!

Thanks for stopping by!
~Melanie


Saturday, April 3, 2021

Easter Blessings!

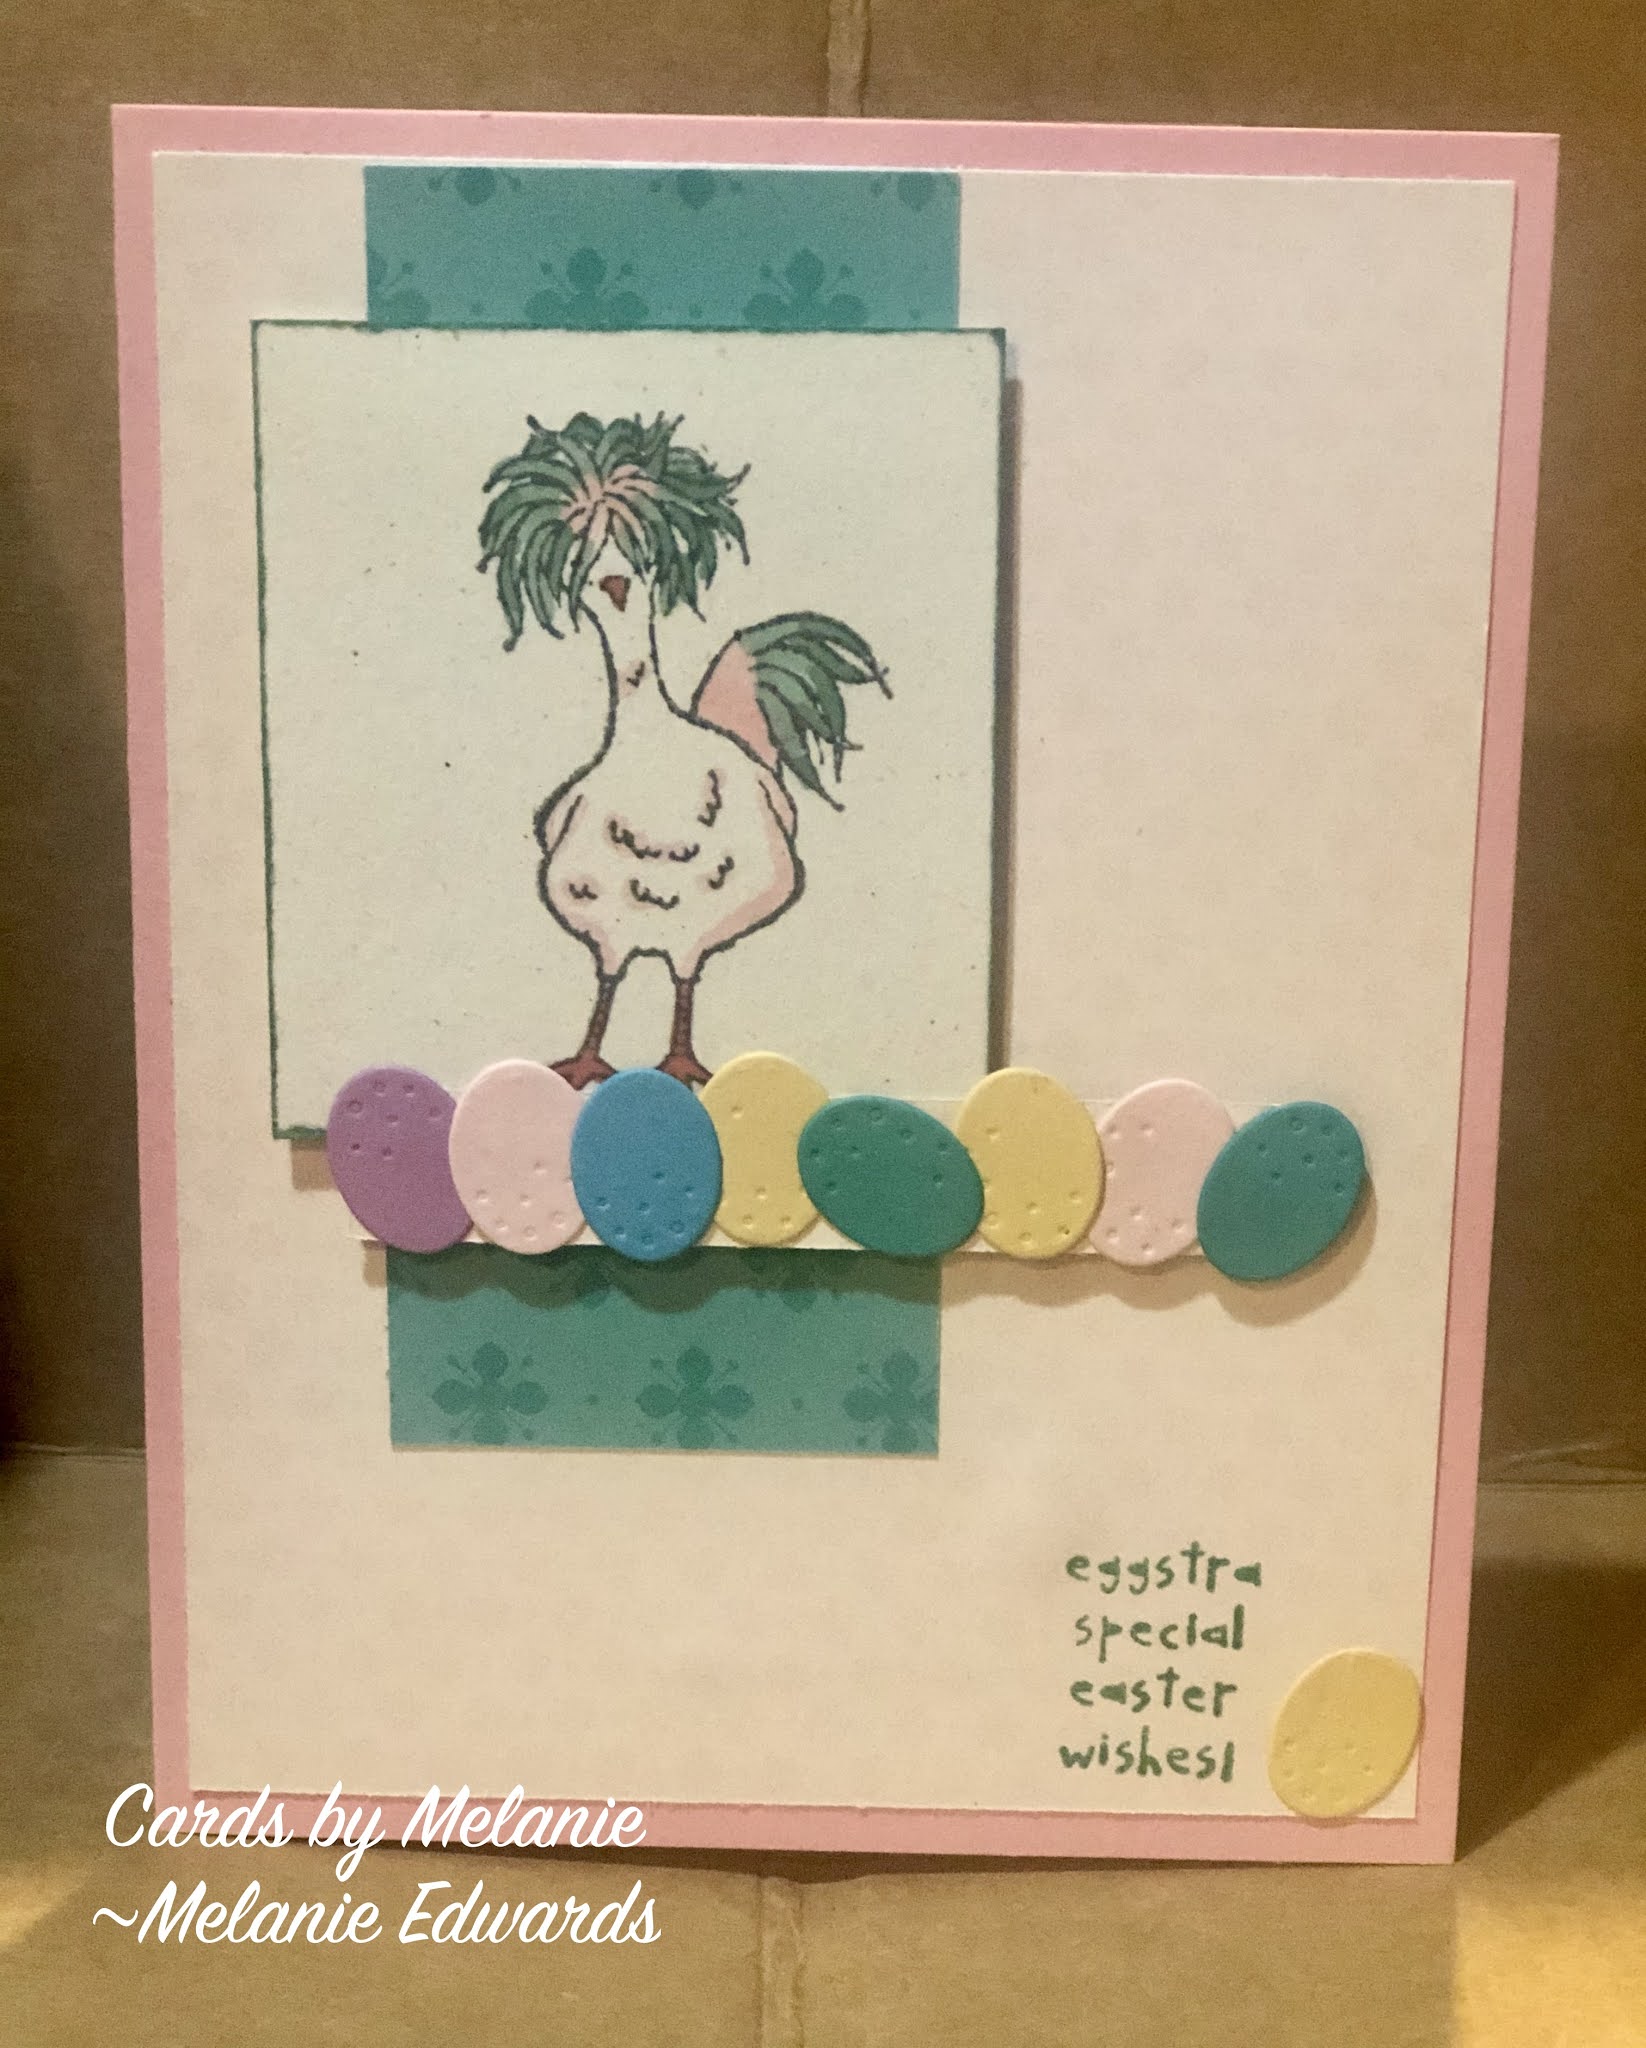
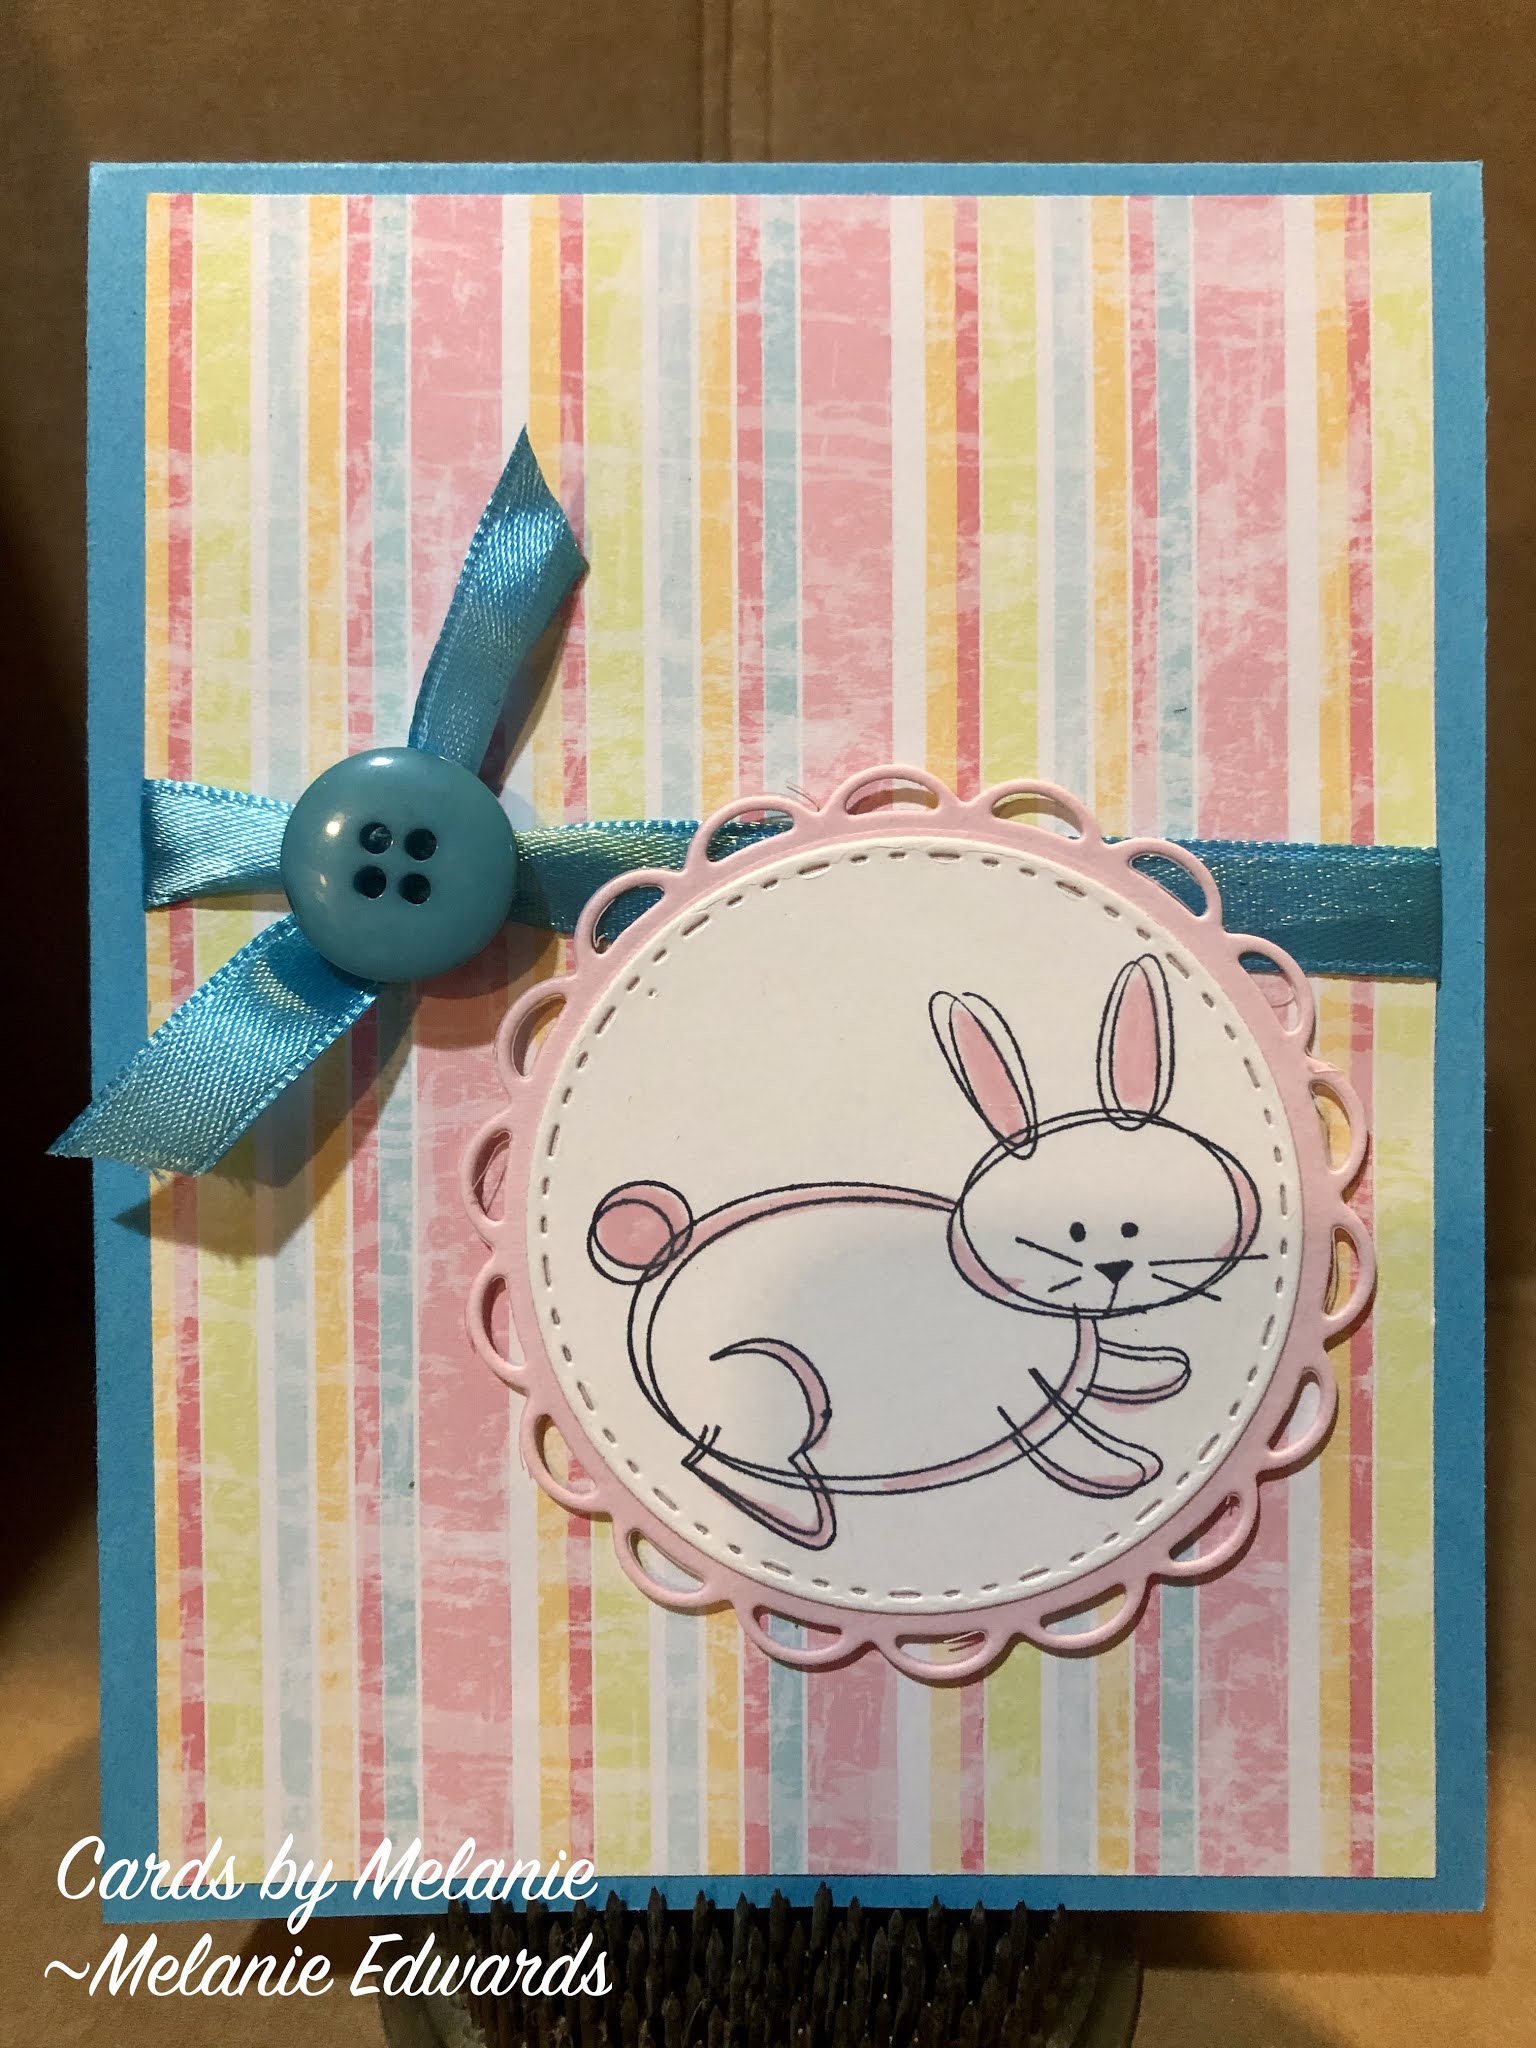
Happy Easter! I had so much fun this year making Easter cards.  I made a couple of some of these designs, others I made similar cards, but each was a little different.  All of the stamps used were Stampin' Up!  Most of the paper is Stampin' Up too!  Their paper really is so good, no comparison to the store bought stuff.  Much better quality to work with.  

First I used this beautiful daffodil stamp and colored it with my blender pens, love using those, fun to color!  This card is so pretty and elegant, especially with the fancy Easter Blessings font.


The next two cards were very fun!  I actually CASED these cards (CASE stands for Copy And Share Everything) from an adorable card I found on the internet....I have been searching so I could show you the original, but i can' t find the post anymore!  But, I loved the idea of the easter egg garden with this crazy chicken!


Lastly, I used this cute little bunny.  I just colored his ears and gave him a few pink highlights.  Then he was mounted on this pretty pink scalloped border circle.  I tried a couple of different looks, brights and pastels.  


I hope you enjoyed looking at these as much as I have enjoyed making them. 
 Have a Happy Easter!

Thanks for stopping by,
~Melanie 

Friday, March 26, 2021

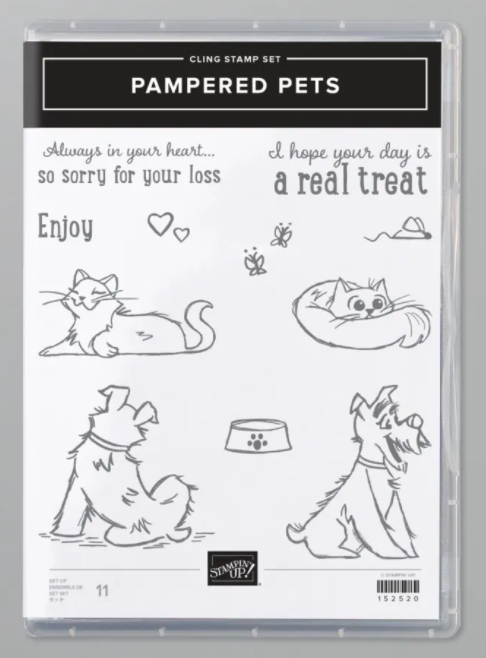
Pampered Pets

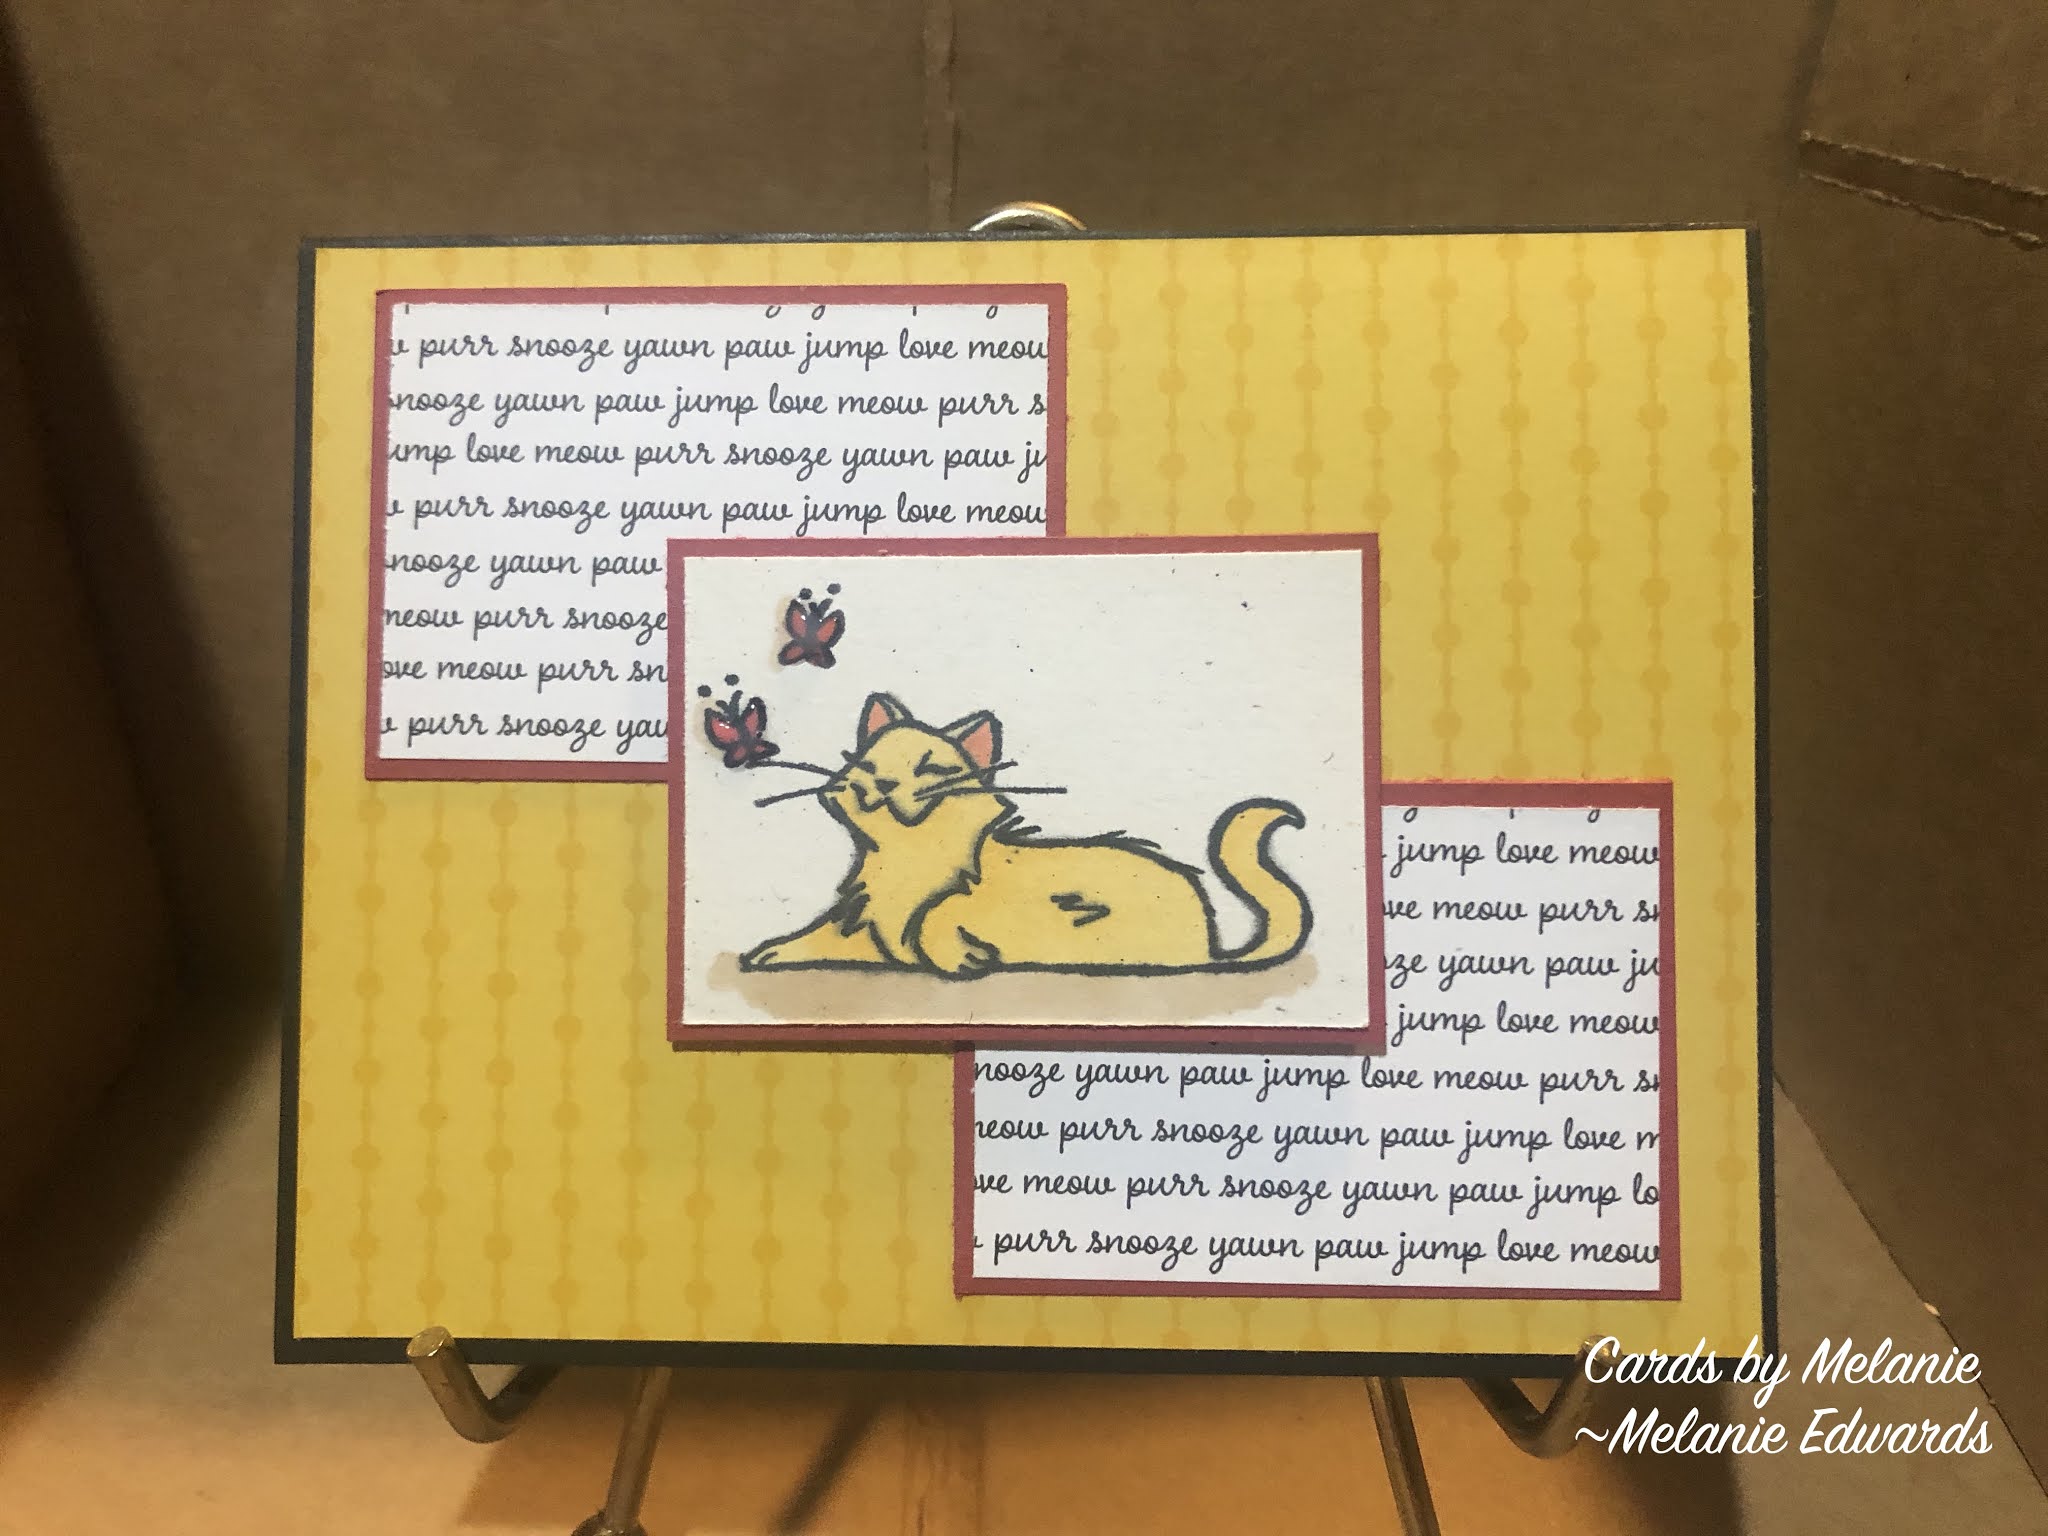
 I love this adorable stamp set, and I knew my daughter would too.  We decided to sit down and play with it last week.  We also have the dies to cut out the pets and decided we wanted to do that for the card.  Sometimes I have an idea in my mind of what to do and others I don't, so I search for inspiration.  We googled card layouts and picked one that we liked and set out to make these cards.  I chose to use the cat stamp and she chose the dog (and you will see we didn't die cut them because we forgot we wanted to!)


We had a lot of fun coloring in our images with our Stampin' Up!  blends markers.  Sophia did a great job!  She shaded the dog fantastically (is that a word?).   She used a little black rhinestone on the dogs collar, and I used a little crystal effects on my butterflies to add a little bling!

You can see the layout we chose had 3 rectangles and i laid mine horizontal and she did hers vertical.  Then we both decided to decorate the inside of our cards (we DID use the dies!  lol) by using the paw die and cutting out the cute little paw prints from our lining layer so the color of the card base showed through.  

It was a lot of fun stamping with her...hope we get to do it again soon!

Thanks for stopping by today!

~Melanie

Stampin up! Pampered Pets stamps and designer series paper


Wednesday, March 24, 2021

Pink Sunflower

Celebrate Sunflowers - Stampin' Up!  At first I didn't pay much attention to the set.  Then I saw my friend on a video and she had a bag of precut pieces that she hadn't used and she pulled out this black outline and I was like I love that.  And it turns out it was the sunflower die outline.  It would make a great background layer for a card...will have to work on that!


So now that I knew I liked that sunflower die, I wanted to see what else was out there for cards that were made with this stamp set.  I googled it and found a beautiful blue sunflower card!  You can see my inspiration here.   I hadn't thought about making it any color other than a sunflower color!  So i was sold!  Into my cart this set went along with the dies of course!  When it came I was itching to use it!  And I had to color with my new stamping blend markers also!  This one was made with melon mambo and bronze and ivory, and the leaves with old olive.  It was so much fun to color this in.  I decided to decorate the inside of the card as well.  I always like to put a layer inside my cards as well, I feel like it is too plain without it.  So why not pretty it up too?  


This was the sketch I used to plan my design.  Think outside of the box!  Just because a layer is shown as a rectangle, doesn't mean it can't be a flower!  A little crumb cake cardstock and DSP in melon mambo.  And of course embellishments,  some twill and pearls to finish it off!  I really love how this card turned out.

Another tip...while you are stamping and die cutting make extras.  I stamped these flowers four times and colored in 4 different colors.  That way I have them ready when I want to make a card!  

Thanks for stopping by today!

~Melanie


Saturday, March 13, 2021

 Long time no see!  I have not posted anything on this blog in years!  I have been busy with other things...my craft room has seen better days!  I decided that i wanted to get back into crafting and making cards and since I love to share what I've made, re-visit this blog!  

I wish I had taken a before picture of my craft room (no, really I don't because you would be horrified!)  I have been cleaning up on weekends in there and I have tossed out 7 garbage bags of who knows what.  The craft room kind of became the we don't know where to put it, oh, the craft room...or so it became known "the crap room". Well, it is time to take that room back!  After removing the garbage and the 3 oscillating fans i found being stored in there, I am not left with an organization problem...but still some room to work!  

This card was made for my nephew whose grandfather had just passed away.   Honestly I can't even tell you what products I used to make this card as it was made with whatever I could find at the time.  


I do know that these are stampin' up! stamps, but from which set, i am currently at a loss!  The stamps were just laying about in bowls, not with the sets they belong!  I really do have a lot of work ahead of me in cleaning up! 

It may sound weird, but I do like to make sympathy style cards, or they could be just thinking of you cards.  I usually use a floral print and color them in.  I have found myself the last few weeks perusing card blogs and really loving the floral ones. 


I have also just gotten myself a beautiful new set from Stampin' up! called Celebrate Sunflowers which I cannot wait to begin to play with!  So, stay tuned for that!  As well as my new chicken sets that I have been making birthday cards with!

So, hopefully it won't be years before I am back on here!  I look forward to sharing more soon, thanks for stopping by!

Saturday, December 22, 2012

Cookie People

I just had to share this.  My daughter Ali, loves to bake.  She made these sugar cookies and decided to decorate them like people we knew.  We ate ourselves!  I did remember to take a picture of one cookie though.  This one was made for Auntie Elaine.


She really is a creative and talented girl.  She keeps asking me how old she needs to be before she can  make her own website!  Soon, probably, she has lots to share.

Thanks for stopping by today!  Merry Christmas and Happy Holidays!
~Melanie :)

Wednesday, December 19, 2012

Merry Christmas!

Oh, my goodness, I cannot believe it is December 19th already. I have been so busy all fall with family, kids, work, school, kids activities, coaching cheerleading, etc!  Time has flown by me!  But, this is my favorite time of year, I need to slow down a little to enjoy.  My goal is to have some more "me" time to enjoy my crafts.

I have been up to a few crafty things over the last few weeks, so I thought I would share.  First, I did my annual craft fair at my sister's work.  It is open to her office building and is not a huge venue, but fun to do.  Even more fun this year because my other sister, Kim, has started selling Lia Sophia and she had a booth next to mine, so we got to hang out all day.

Here I am at my table, I did not really have time to make a lot, so I had some things I previously made and added a few new things I was able to make the week of the event.


And, my sister Kim at her booth:  if you like Lia Sophia her website is HERE


Here are my two new items this year...Snowman Hershey bar and Chocolate Christmas tree!


The inspiration for these items came from the internet... Laurie Furnell and Qbees Quest

Here is a photo from when I made a bunch of Christmas trees...looks like a forest of Christmas trees! :)


Well, I have to go and get some Christmas stuff done now...wrapping, wrapping, wrapping!  Have an awesome day!

~Melanie :)


Sunday, May 27, 2012

Memorial Day Weekend!

(image from zimbio.com)

First I want to say Happy Memorial Day weekend to all!  and, THANK YOU to all of those who have served for our country, present and past!  I thank you and honor you.  God Bless America.

Most of us think of Memorial Day weekend as the kickoff to summer.  Here in Mass we are certainly feeling it.  In fact yesterday, I dragged out a few AC's and put them in the windows!  I just couldn't take it anymore!  A bonus for me is that my craft room is located in my basement.  It is much cooler down there (not so fun in winter...but I have a space heater).  The kids only have a couple of weeks of school left and I have finished with my online courses until the fall...hooray!  So, I have much more free time to craft :)

Yesterday after being lazy for half of the day (hey, it is the weekend!)  I went down to the craft room and had a lot of fun.  I did a lot of projects, from paper to felt to recycled caps...
(there will be a lot of pictures)

This is the first project I made.  I used Papertrey Ink stamps Strawberry Patch to create this fun card.  I had planned to make the card on white card stock and layer on a white card base, but I cut the original paper to small, so I used Stampin' Up Pure Poppy Card stock to mount and I love the result.  The main image is stamped with Momento Ink in black and colored with copic markers.  It is so fun to color with them.


I made a set of 4 note cards, matched them up with envelopes and packaged them in this clear box.  (the box the stamp set came in, I love to recycle! :) )  I then put a little deco on the package and the set is complete.


I did not stop there though...I am making a gift to donate at my work.  I work in a cancer clinic and we are having our 4th annual survivorship night. (This is a fun night that we celebrate the spirit of our cancer survivors - you are a survivor from the moment of diagnosis!  We have dinner, speakers and a candle light ceremony...it really is a special night.)  We get donations for raffles to support our night and we use the money to directly help our patients in need also.  I am making a small set to either use as a raffle or a door prize, whatever it is needed for.


I used the adorable basket die from Papertrey Ink and my SU! Craft cardstock, then I lined it with Pure Poppy card stock for stability and a splash of color through the holes.  I plan on filling the basket with craft shredded paper and then my handmade goodies.  I made the set of 4 note cards, I also covered a mini composition notebook with SU! DSP Just Add Cake.  I added a little strawberry that I had colored and cut, and I did the same to a larger notepad and used the same paper inside the RSVP pen.  Finally, I found this adorable little glass jar candle that is Strawberry Apple scented.

The next project I made used recycled flip caps from medecine bottles.  As I said, I work in a clinic and we are giving tons of medicine and thus we are having tons of waste.  I saw another nurse at the hospital with one of these cute flowered badge holders and thought, I can do that.  So I enlisted the help of my fellow nurses and the pharmacy team to collect these plastic caps instead of throwing them out.  I had tons!  I wish there were some prettier colors, but I do like how these came out.


I broke out the hot glue gun and I used the circular clip badge that holds our name badges and I just hot glue gunned the circles to make these cute holders.  It took all of 30 seconds to make each one!  I am making one for everyone I work with... I think they are adorable!

And since i had my hot glue gun out...I decided to make some felt flowers that I saw online.  I am going to post a few pictures and I will post more details later...


It is kind of hard to see in the photo above, but I also turned the flower into a pony tail holder...Below, is my youngest, Sophia, modeling for me!  <3


Speaking of Sophia, I also had to show this photo:


Please ignore the floor, as I said my room is in the basement.  So, I gave Sophia some scraps and she had glitter and glue and she put herself to work making "Valentines" for mommy and daddy!  She is so sweet.

Well, thanks for sticking around for this long post...I hope you have a fantastic Memorial Day weekend!  And, don't forget the reason for the holiday!

~Melanie :)