I told you I was going to make some more cards using the simply succulents dies from stampin up! This time I actually used the stamp set too! lol. I know that succulents are generally pale and muted in color, but i wanted to make these flowers bold! So I stamped a few of the flowers, and pots. I used my stampin' blend markers to color. It is so much fun to color. I then used the die cutters to cut out the images.

I had this card template that I wanted to follow, I had this round olive green circle that I had previously cut out and had set to the side as I did not use for the original project. I thought I would place it behind the pot and flowers. I also used some of the other dies to cut some green sprigs for behind my yellow and pink flowers. I then rummaged around my huge stash of retired pattern paper and picked out the pink and green. I have no idea what colors. I believe the card base is a wild wasabi color. I took a piece of ribbon and placed it behind the flower pots and cut the ends at an angle. I thought this would be a cute thank you card so I stamped the Thanks a bunch sentiment in black. Finally, I found this cute little felt butterfly in my box of accents and thought it would go perfect here!


This card is similar in that it has the same flowers and pot and the pink and green colors, but then I added in blue. I flipped through my Stampin'Up! catalog for inspiration. I found this card on page 13 of the 2020-2021 catalog.

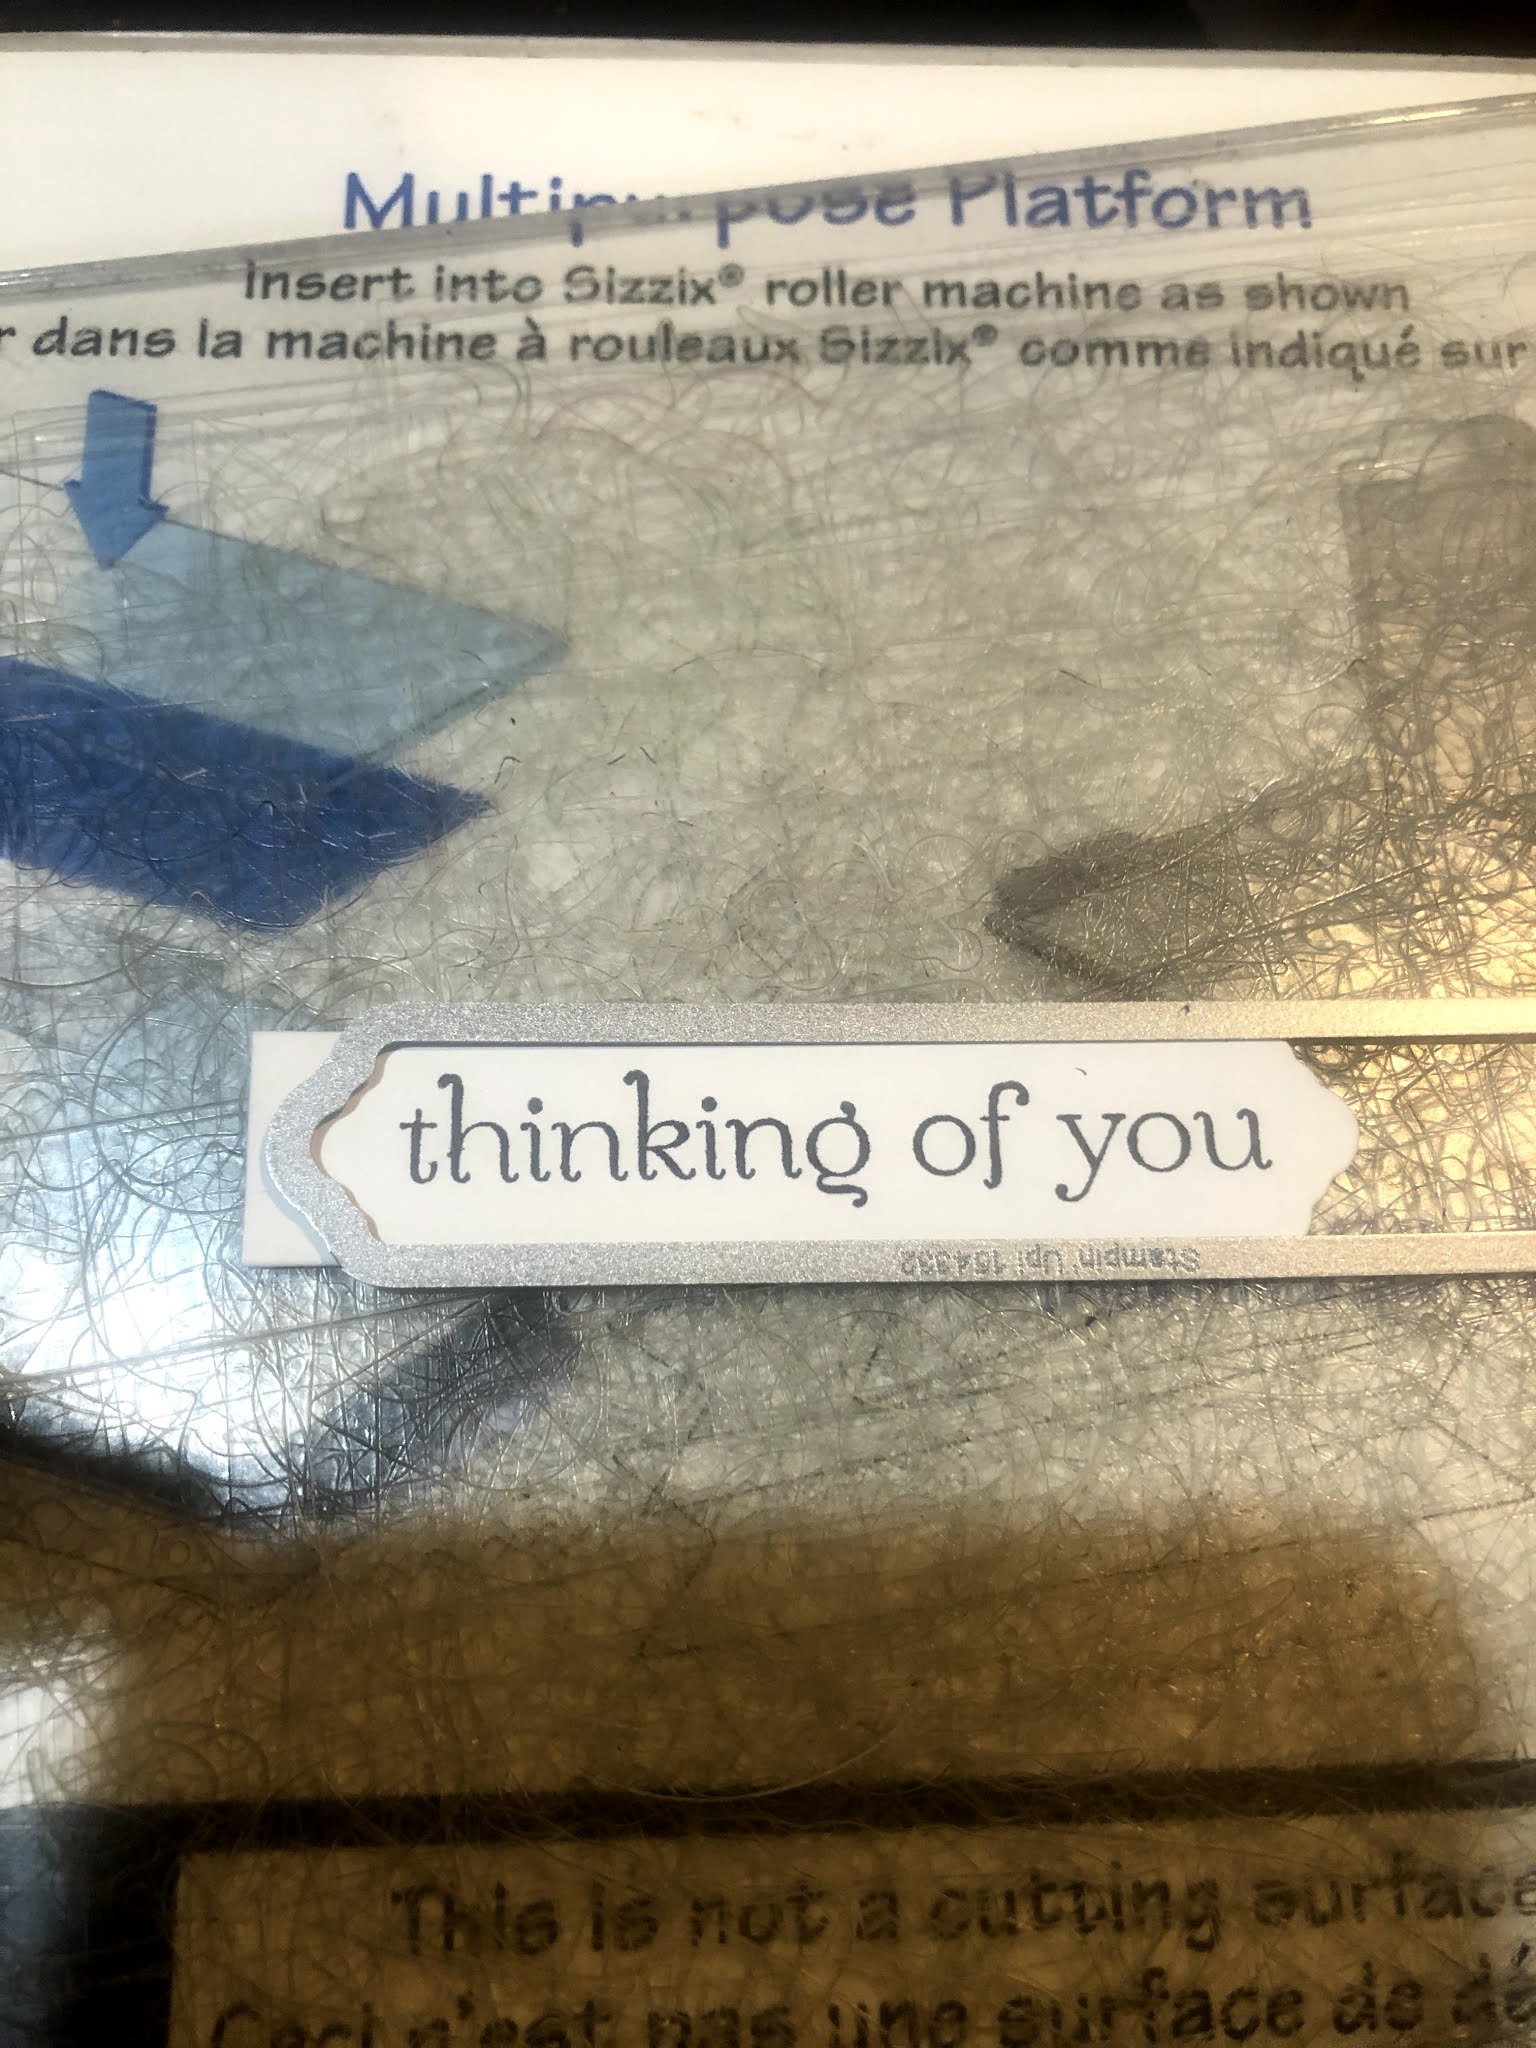
So I cut 3 strips of my DSP and arranged them on the Wild Wasabi card base. Then I put the flower pot off to the left this time. I stamped the thinking of you image on the card, but it was crooked! Oh no! How to fix? Stamp it on another piece of paper and cut out with a die and cover the mistake!

But my die is much larger than my sentiment. So I placed the die on one end of the image where I wanted it to be. And cut out the image. Then I moved the die cut down in the die to line up the other end of the sentiment with the die edge and ran through my cutter again. Then it was the perfect size!

Finally some pizzaz in the form of dark silver round stones randomly applied on the card front.
Thanks for stopping by today!
~Melanie
~Melanie
No comments:
Post a Comment