Friday, May 7, 2021

Tear and flip technique


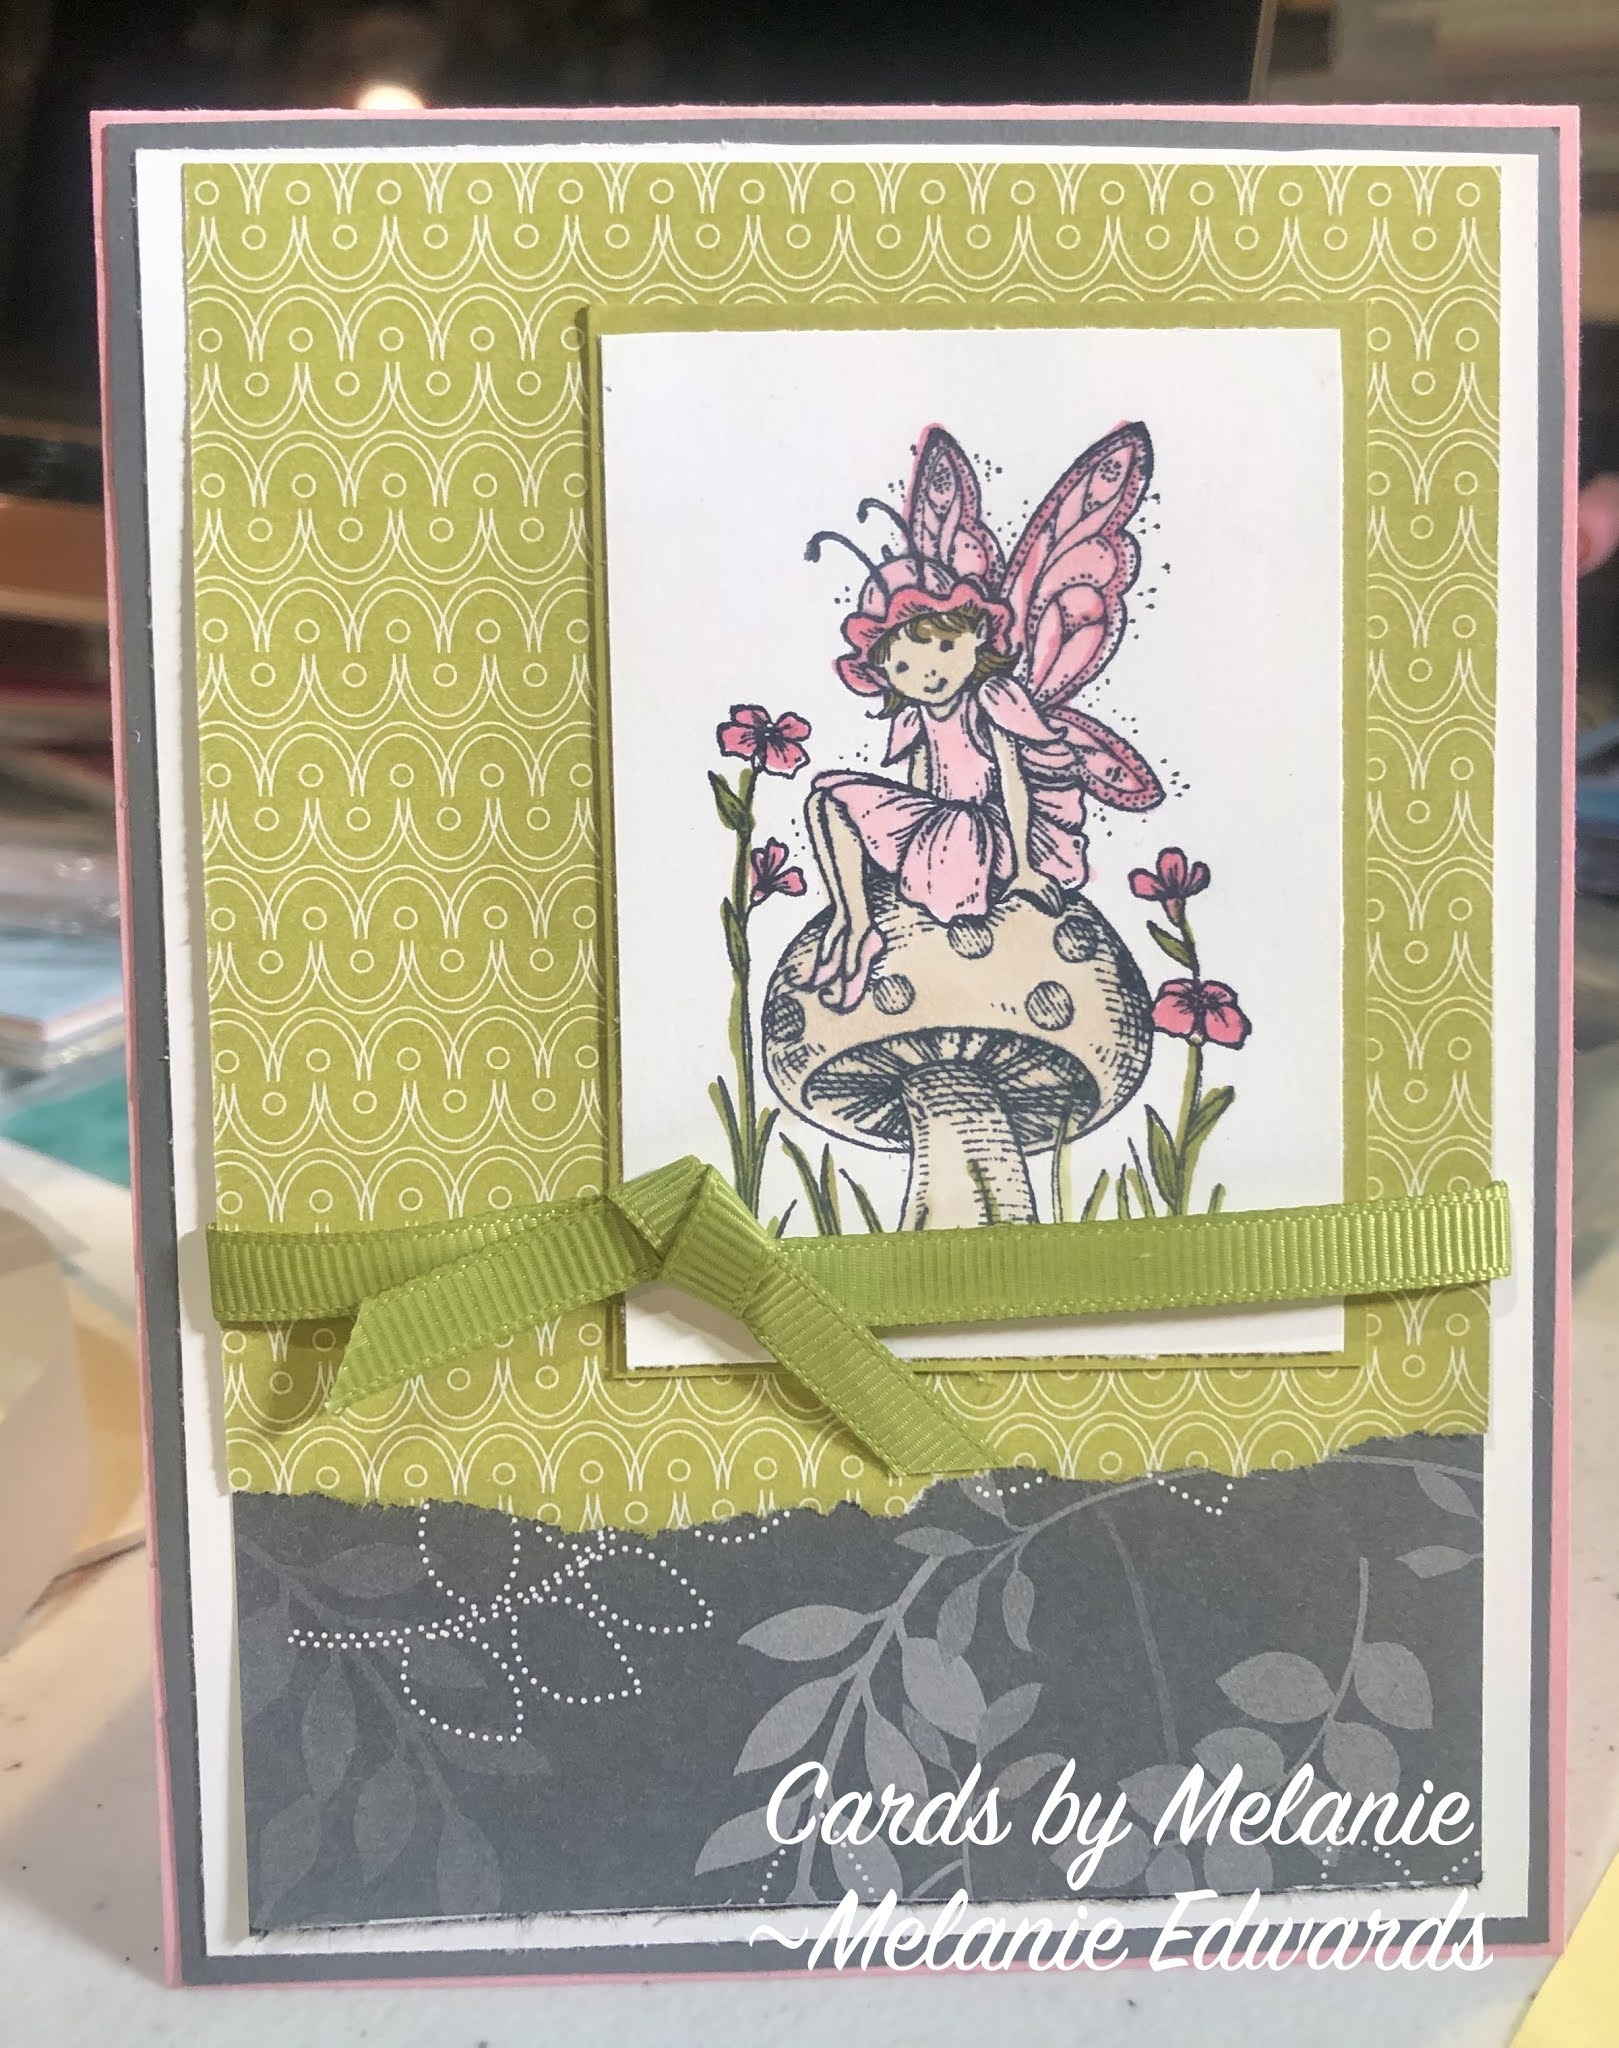
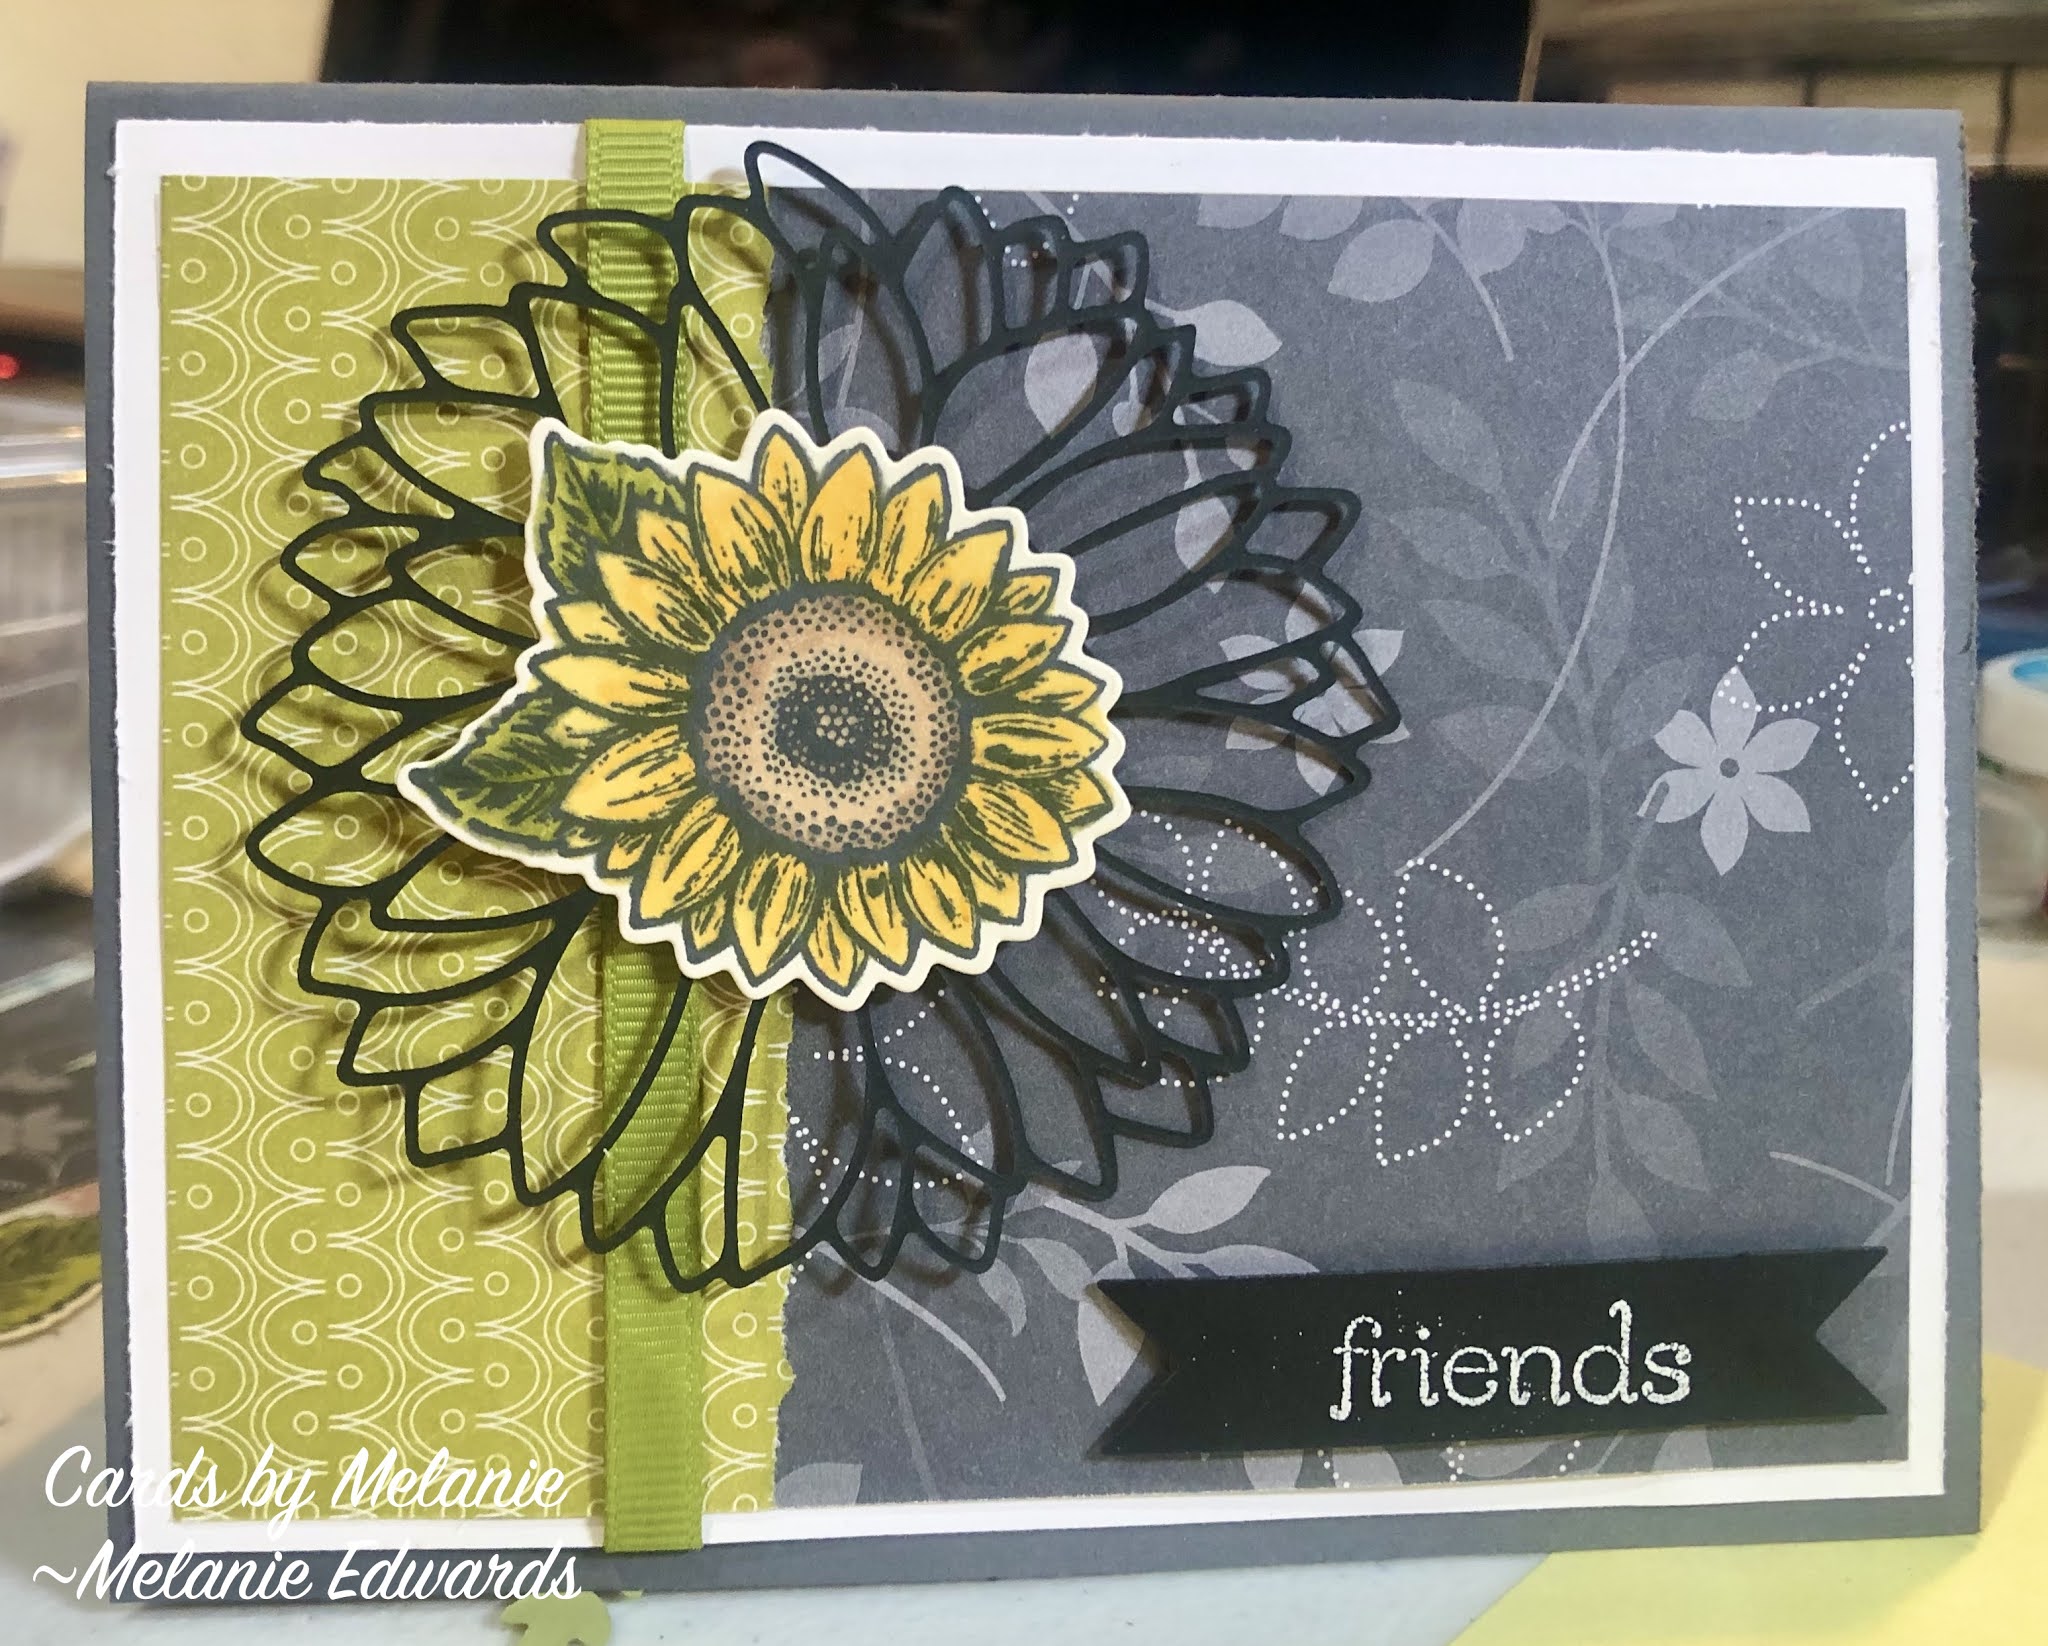
I like to visit other's blogs for inspiration and I saw one recently that was using the tear and flip technique.  If you did not know, all of Stampin' Up's DSP (designer series paper) is double sided, meaning there is a print on each side and they are different, but coordinate.  So I took some of the paper and cut pieces 4 1/4 wide and 6 inches long.  Then I tore the paper towards one end and flipped the paper over and had 2 coordinating color designs for the front of each of my cards.  Below are a few of the cards I made using this technique.  

This first card I love the green and the grey colors together.  I found a very old Stampin up stamp set with this adorable fairy and stamped it onto a piece of whisper white cardstock and colored in with my blend markers.  I then mounted it on an olive green slightly larger piece of cardstock and put it on my torn card front.  I tied a piece of olive green gross grain ribbon on and then this was all mounted on white paper and then placed on the card base of  pink (I think Pretty in Pink but not 100% on that).


This next card is all in hues of blue with white accents but on a light grey card base.  This true friend stamp almost has a purple hue to it as I think I had some old ink on the stamp that I had not cleaned off before I stamped onto my paper (but I love the way it looks!).  Then I used this fun folded and stitched satiny blue ribbon and a little gem to dress it up just enough!


Back to my green and grey color and I was trying t think of what to do, I added the olive green ribbon again, but then I went to my stash of die cuts and saw the outline for the sunflower and thought, hmm.  So I pulled it out along with a little yellow sunflower I had already sitting aside that I had colored with my stamp blend markers and had not decided what to do with yet.  and popped that on top.  Lastly, I took a piece of black cardstock and embossed the friends image in white.


 So that was kind of a fun thing to do.  I am usually about clean lines and asymmetry.  So to take a piece of paper and tear it and put it on the front of a card was a little bit different for me.  But sometimes that is fun!  

Right now I am working on another project I found on the internet.  It's a "One Sheet Wonder".   Using one sheet of 12x12 DSP to create 10 different cards!  I am almost complete, just one card left and then I will share that with you as well. 

Thanks for stopping by today!
~Melanie

Monday, April 26, 2021

Butterfly Birthdays!


More Butterfly birthday cards using Stampin up designer series paper.  The butterflies are die cut from the paper!  I was browsing the internet looking for a fun card template and saw this with the split diagonal cut front.  I used a rustic white paper and a soft pink card base.  The pretty pink and orange blotched designer paper peeks out from behind the split.   And for a little pizzaz, pink and dark yellow rhinestones.  And one of my favorite happy birthday die cut sentiments.


I mirrored the diagonal split on the inside with a pretty yellow butterfly in the corner.  And I love this fun sentiment for the inside of my birthday cards.

The next card does not necessarily have to be a birthday card, but could be!  This pretty blue color is complimented so well by the black and white.  I am loving white embossing on black card stock.  Today I used the sentiment "friends". so really this card could be used for any occasion.  


Inside just has a little bit of blue paper and a pretty blue butterfly.  Lots of room for writing a note to someone special.


Thanks for stopping by today!
~Melanie


Saturday, April 24, 2021

Birthdays!


Last month I had 2 fun birthdays!  My granddaughter was turning 2 and my niece 21!  I had a lot of fun making these cards.  


Maddison's birthday party was donut themed and I was going to make a donut card, but I didn't have the right size circle cutters to make the donut.  So, I decided to go with cupcake!  This image is from an old stamp I have with a huge cupcake.  I stamped it on white cardstock and colored in the frosting with this bright pink color and red for the cherry topper.  I cut it out and added blue sparkle sprinkles and then I used my crystal effects to make the cherry glossy!  I used some DSP to make the cupcake paper holder, I thought the design reminded me of the folds in a cupcake wrapper.  I love how the turquoise DSP makes a bright background for the festive cupcake.  I die cut my happy birthday sentiment and that was it.  Easy and perfect for a 2 year old!

Now, what card would be perfect for a 21 year old?


I used Stampin Up! retired Cheers to You stamp set.  I stamped the drink images and colored with my markers.  I cut them into circles and matted them on old olive circles.  My niece is really a muted color person, favorite colors to wear are black and grey so I wanted a card that wasn't too bold.  But then I had to had some bright pink because it did need a punch of color!  Same Birthday die cut, i really love this die and can see it being used a lot with me!

Hope you enjoyed these birthday cards and thanks for stopping by today!

~Melanie  


Friday, April 16, 2021

Chickens for Birthdays?

 Yes please!  I love chickens for any occassion!  I have always wanted chickens.  Many years ago I took an old coop from a friend and it sat in my yard for years.  Then finally 2 years ago I said this is it, we are getting some, and I love my chick-a-babies!  So, I see stamp sets with chickens and am like "yes please"!


This first card was made for my daughter's 18th birthday!  I had wanted to put 18 on the front of the card, but my idea was to do it with die cut numbers, but I realized, I didn't have any!  LOL, either that or I could not find them in my messy room!  I used my Stampin' Up DSP as a backdrop and focal paper.  The image and sentiment is from the SU! Hey Birthday Chick set and he is colored in with my SU markers. 

Inside I put this cute little chick in his shell with a birthday hat on top!  


Also last month was my mother in laws birthday.  So, I pulled out the Birthday Chick stamp set again and this time used this crazy little chicken eating a cupcake for my image.  At the time my marker supply was pretty limited, so the coloring could use some improvement, but this chicken is so cute, he forgives me.   I found a similar card to this online and used it for inspiration- pretty much CASED the whole design.  I die cut the banners in lots of bright colored scrap pieces and the sentiment in black and then (pizzaz) rhinestones in black.  


Inside, I kept if very simple with a "you're still a spring chicken" sentiment from the same set.

This is such a fun set, I really hope to make some more great cards with it and now that my marker collection is back up to full swing, I can have fun playing with those colored feathers!

Thanks for stopping by today!
~Melanie 


Wednesday, April 14, 2021

Bees are out for spring!

 If you don't know, last year I decided to raise honey bees!  I got my first package of bees in May and I was terrified of them!  I had all the gear though, so I got a little more comfortable with them as the year went on.  They really are fascinating!  I am happy to say that my bees survived the winter and have been very busy the last couple of weeks growing their colony in preparation for the honey season!


As my bees are getting busy, so am I!  I actually ordered this Stampin'Up! set on Ebay last summer as it is retired.  I used it for the first time this week!   I stamped out the honey bees and colored in their bodies with my stamping blend markers, and cut them out with my dies.  I also used dies to cut out the honey bee hive from a sheet of whisper white cardstock and then the comb die also in whisper white.  The card base is Bumble bee yellow as are the little embelishments around the card.  I found a piece of gold ribbon in my stash and then this adorable textured almost comblike cardstock I used at the bottom of the card front.  I saw a card like this online and mirrored a lot of the design, but added my own touches with the accents and cardstock.  Oh, and finally, I used my crystal effects to cover my honey bee bodies and make them glossy and 3d!


I can't ignore the inside of my card!  I stamped this "sweet friend" sentiment and added a die cut bee to the inside as well.  I really LOVE the way this card came out!


And my second bee card... I used the center hive cut out from the above card that i stamped the bee hive image on in this Bumble Bee Yellow ink.  This was propped up on dimensionals in the center of my card.  The sentiment was stamped around the top of the hive.  I then colored in my stamps with my stampin up markers to get 2 colors on one stamp and stamped the 2 flower images. I die cut them out (well one of them, the other I realized the die was missing from the set I bought and I had to hand cut out the flower - the dies really do spoil you!). Since I added a splash of color with these flowers (Magenta Madness and Just Jade) I wanted to carry that through the card.  I did a Just Jade strip of DSP at the bottom of the front and a skinny layer of the Magenta Madness.  A few dots of magenta madness for pizzaz and my honey bees were added!  Then I realized I had this Wink of Stella brush I had not used yet.  I got my pen set up and a little bit over did it with the first squeeze to get the glitter out and my bee wings are very glittery!
But I LOVE the colors and beauty in this card.  For once, I left the inside blank!  

Thanks for stopping by and I hope you enjoy this spring and are nice to the honey bees!
~Melanie

Monday, April 12, 2021

Simply Succulents

 I told you I was going to make some more cards using the simply succulents dies from stampin up!  This time I actually used the stamp set too!  lol.  I know that succulents are generally pale and muted in color, but i wanted to make these flowers bold!  So I stamped a few of the flowers, and pots.  I used my stampin' blend markers to color.  It is so much fun to color.  I then used the die cutters to cut out the images.  


I had this card template that I wanted to follow,  I had this round olive green circle that I had previously cut out and had set to the side as I did not use for the original project.  I thought I would place it behind the pot and flowers.  I also used some of the other dies to cut some green sprigs for behind my yellow and pink flowers.  I then rummaged around my huge stash of retired pattern paper and picked out the pink and green.  I have no idea what colors.  I believe the card base is a wild wasabi color.   I took a piece of ribbon and placed it behind the flower pots and cut the ends at an angle.  I thought this would be a cute thank you card so I stamped the Thanks a bunch sentiment in black.   Finally, I found this cute little felt butterfly in my box of accents and thought it would go perfect here!


My new thing is that when I want to use a stamp set, I am trying to make 2 cards.  And that each of these cards may be similar or very different!  But since the stamp set is out, make use of it!  


This card is similar in that it has the same flowers and pot and the pink and green colors, but then I added in blue.  I flipped through my Stampin'Up! catalog for inspiration.  I found this card on page 13 of the 2020-2021 catalog.  


So I cut 3 strips of my DSP and arranged them on the Wild Wasabi card base.  Then I put the flower pot off to the left this time.  I stamped the thinking of you image on the card, but it was crooked!  Oh no!  How to fix?  Stamp it on another piece of paper and cut out with a die and cover the mistake!  


But my die is much larger than my sentiment. So I placed the die on one end of the image where I wanted it to be.  And cut out the image.  Then I moved the die cut down in the die to line up the other end of the sentiment with the die edge and ran through my cutter again.   Then it was the perfect size!  


Finally some pizzaz in the form of dark silver round stones randomly applied on the card front.

Thanks for stopping by today! 
~Melanie


Sunday, April 11, 2021

Beautiful Butterfly


I really am enjoying creating with the butterfly brilliance stamp set.  Who doesn't like butterflies?  Especially in the spring!  And this card screams spring to me with the yellow and the teal.  I really love yellow for springtime.  

This beautiful yellow butterfly actually comes right from the Stampin' Up! DSP (designer series paper).  The paper lines up perfectly with the die for this set, and when it is used, it cuts out 6 different butterflies!  Cut them all at once, and set them aside to be ready for another project!  The white circle in the background is actually a paper doily.  It had more ruffled edges, but it was bigger than I wanted, so I cut the edges off.  Then I thought this just jade paper would match beautifully to the yellow.  I used a strip of DSP for the bottom and then a solid piece to make the tag behind the doily and butterfly.   I added some black in to tie into the butterfly lines and then some cute little yellow rhinestones to add just a touch of pizzaz!  what a fun word, pizzaz!  lol


And of course you know how i hate a blank inside of a card!  So i found an older SU set ( I don't even know which one off the top of my head) and I inked it up in the yellow and stamped it a few times across the bottom of the white cardstock without re-inking so it would have that ombre effect.

This card has no stamped sentiment, so it could be added later, or used as is to be for any occasion!
I have been having fun with these butterflies, so I will be sharing more soon.  Spring fever has gotten me!

Thanks for stopping by today!
~Melanie 

Wednesday, April 7, 2021

Floraly Lace


 I saw this large lacy floral die and wanted it so badly, and it just arrived this past Saturday!  So last night when I just needed a little get away from life, I retreated to my craft area and opened it up.  I grabbed the first piece of cardstock near me that would fit the die and ran it through the machine (Regal Rose).  My next thought was, what can I lay this over?  I had recently used this DSP when making my Easter cards and it was nearby, so I thought it would go.  This is how my process works right now.  I have SO much stuff (and I have no idea how old this paper is or what set it came from) and my room is a little messy still, that I tend to keep using something when I have it near me from a recent project!   

Anyway, I was like, hmm, what else?  Then I saw that ribbon on the desk from Easter and thought YES!  Also in the set was this cute die for sentiments, so I checked out the stamp set that matches and saw this cute "You've been on my mind" stamp.  And thought, yes this would make a nice card for a friend.  Sometimes I think...birthday? sympathy? just because?  the card sometimes leads me.   So I used my Early Espresso marker to ink up the stamp and put it on cream card stock.  I used the cream for the base of the card as well.  Then I used the cute die to cut out the sentiment and mounted it on dimensionals.


Well, you can't ignore the center of the card!  So I used the same Regal Rose Cardstock and cut it to fit just inside the back base, leaving a smidge of the cream to show, as it does on the front of the card.  I then took a cute floral die from the stamp set, inked it with the Early Espresso marker and double stamped it on the corner of the card.  That is why one image is a little lighter than the other.  

That's it!  A pretty card that I am sure anyone would like to get to know that someone was thinking of them!  I also was playing with this stamp set and die for another card using a layout challenge, but did not finish yet.  I will share it later, so keep your eye out for a totally different look using the same stamp and die set!

Thanks for stopping by!
~Melanie


Saturday, April 3, 2021

Easter Blessings!

Happy Easter! I had so much fun this year making Easter cards.  I made a couple of some of these designs, others I made similar cards, but each was a little different.  All of the stamps used were Stampin' Up!  Most of the paper is Stampin' Up too!  Their paper really is so good, no comparison to the store bought stuff.  Much better quality to work with.  

First I used this beautiful daffodil stamp and colored it with my blender pens, love using those, fun to color!  This card is so pretty and elegant, especially with the fancy Easter Blessings font.


The next two cards were very fun!  I actually CASED these cards (CASE stands for Copy And Share Everything) from an adorable card I found on the internet....I have been searching so I could show you the original, but i can' t find the post anymore!  But, I loved the idea of the easter egg garden with this crazy chicken!


Lastly, I used this cute little bunny.  I just colored his ears and gave him a few pink highlights.  Then he was mounted on this pretty pink scalloped border circle.  I tried a couple of different looks, brights and pastels.  


I hope you enjoyed looking at these as much as I have enjoyed making them. 
 Have a Happy Easter!

Thanks for stopping by,
~Melanie 

Friday, March 26, 2021

Pampered Pets

 I love this adorable stamp set, and I knew my daughter would too.  We decided to sit down and play with it last week.  We also have the dies to cut out the pets and decided we wanted to do that for the card.  Sometimes I have an idea in my mind of what to do and others I don't, so I search for inspiration.  We googled card layouts and picked one that we liked and set out to make these cards.  I chose to use the cat stamp and she chose the dog (and you will see we didn't die cut them because we forgot we wanted to!)


We had a lot of fun coloring in our images with our Stampin' Up!  blends markers.  Sophia did a great job!  She shaded the dog fantastically (is that a word?).   She used a little black rhinestone on the dogs collar, and I used a little crystal effects on my butterflies to add a little bling!

You can see the layout we chose had 3 rectangles and i laid mine horizontal and she did hers vertical.  Then we both decided to decorate the inside of our cards (we DID use the dies!  lol) by using the paw die and cutting out the cute little paw prints from our lining layer so the color of the card base showed through.  

It was a lot of fun stamping with her...hope we get to do it again soon!

Thanks for stopping by today!

~Melanie

Stampin up! Pampered Pets stamps and designer series paper